
Views: 219 Author: Miluo Smart Home Publish Time: 2026-10-16 Origin: Site


Content Menu
● Before You Begin: Understand Your Freestanding Bathtub Installation
>> Collect the Right Technical Information
● Step 1: Check Floor Support, Access, and Bathroom Layout
>> Assess the Full Installed Load
>> Test the Layout Before Rough-In
● Step 2: Plan the Drain and Bath Filler Together
>> Select the Correct Drain Connection
>> Position the Bath Filler Accurately
● Step 3: Prepare the Floor, Tools, and Components
● Step 4: Assemble the Drain and Position the Bathtub
>> Fit the Waste and Overflow Components
>> Lower the Tub Without Straining the Connection
● Step 5: Level, Stabilize, and Seal as Specified
● Step 6: Test the Complete Freestanding Tub Installation
>> Test the Overflow and Full Drainage
● Installation Problems: What to Check First
● OEM and ODM Insight: Design for Installation Before Production
>> Create an Installation-Ready Product Specification
>> Review a Sample as an Installation System
● Plan Your Next Custom Bathtub Project
● Frequently Asked Questions About Freestanding Tub Installation
>> 1. Can I Install a Freestanding Tub Myself?
>> 2. Does a Freestanding Tub Need a Special Drain?
>> 3. Can a Freestanding Bathtub Be Installed Upstairs?
>> 4. Should I Silicone Around the Entire Bathtub Base?
>> 5. How Long Should I Wait Before Using the Tub?
>> 6. Can I Reuse the Existing Bathtub Plumbing?
Knowing how to install a freestanding tub starts long before the bathtub reaches the bathroom. A successful freestanding bathtub installation depends on floor support, accurate drain positioning, compatible plumbing, and a clear plan for testing and maintenance.
A sculptural tub can transform a modern bathroom. However, its clean exterior hides connections that must remain watertight, stable, and serviceable.
At Jiaxing Miluo Smart Home Co., Ltd., our focus is customized modern bathroom products and solutions for international brands, wholesalers, and manufacturers through OEM and ODM services. From a manufacturing perspective, installation requirements belong in the product specification—not as an afterthought once construction begins.
This guide explains the planning sequence, installation checkpoints, and purchasing decisions that help a freestanding bathtub perform as well as it looks.

Compatibility is the central installation requirement. The bathtub, drain assembly, floor structure, and bath filler must work together.
This guide covers conventional freestanding soaking tubs. Electrically powered whirlpool or air-bath models require additional instructions and qualified electrical work.
The exact installation manual takes priority over general advice. Different tubs may use adjustable feet, pedestal bases, direct drain connections, or compatible drop-in drain receivers.
Use qualified tradespeople for plumbing modifications and structural assessment where needed. Confirm local permit and inspection requirements before opening floors or relocating services.
Before installation, obtain:
- The current installation manual and dimensional drawing.
- Empty bathtub weight and stated water capacity.
- Drain outlet position, connection size, and required assembly.
- Base support or leveling instructions.
- Bath filler rough-in requirements.
- Approved sealants and curing instructions.
Do not assume that an existing bathtub connection will fit the replacement. A small difference in drain position or connection height can require substantial preparation.
The floor must support the bathtub, water, and intended occupants—not simply the empty shell.
Water weighs approximately one kilogram per liter. For illustration, a 70-kilogram tub containing 200 liters of water with a 90-kilogram occupant represents approximately 360 kilograms before other relevant loads are considered.
This is a planning calculation, not proof that a floor is adequate. Support locations, concentrated loads, joist condition, and structural design also matter.
For upstairs bathrooms, heavy tubs, or uncertain existing construction, arrange an appropriate structural assessment.
Check more than the bathroom doorway.
Measure entrances, stairs, corridor turns, and the space needed to rotate the tub. Verify lifting requirements and arrange enough assistance or suitable equipment.
Keep the bathtub protected until installation begins. Never use the drain, overflow, or decorative rim as a lifting point unless the manufacturer explicitly permits it.
Mark the bathtub footprint on the floor using the actual drawing or installation template.
Check:
- Comfortable entry and exit.
- Access to the faucet controls.
- Door and cabinet movement.
- Cleaning access around the tub.
- The planned service route for concealed connections.
There is no universal wall clearance suitable for every freestanding tub. Follow the model requirements and applicable local rules.
The freestanding tub drain installation deserves particular attention because the final connection may disappear beneath the bathtub.
An existing bathtub waste connection is not automatically a suitable receptor for the new tub. Confirm the trap, venting, pipe position, connection height, and maintenance access.
| Connection arrangement | What to confirm before installation |
|---|---|
| Direct connection to the waste pipe | Compatible fittings, assembly space, and access for final connection |
| Compatible drop-in drain receiver | Correct receiver, tailpiece dimensions, sealing system, and insertion requirements |
| Accessible connection from below | Safe access and a practical route for inspection and repair |
A tailpiece must not simply be pushed into an ordinary open pipe. The connection needs an approved, compatible sealing arrangement.
Avoid improvised flexible waste connections unless explicitly permitted by the product instructions and local requirements.
For a floor-mounted freestanding tub faucet, confirm the rough-in assembly and fixing requirements before the finished floor is completed.
Check spout reach against the actual bathtub rim and bathing well. Water should enter the tub cleanly rather than strike the rim or splash excessively.
Wall-mounted fillers require equally careful coordination of tub position, outlet height, and reach.
Have the plumber confirm required temperature-limiting measures. A stylish filler should not compromise safe water delivery.
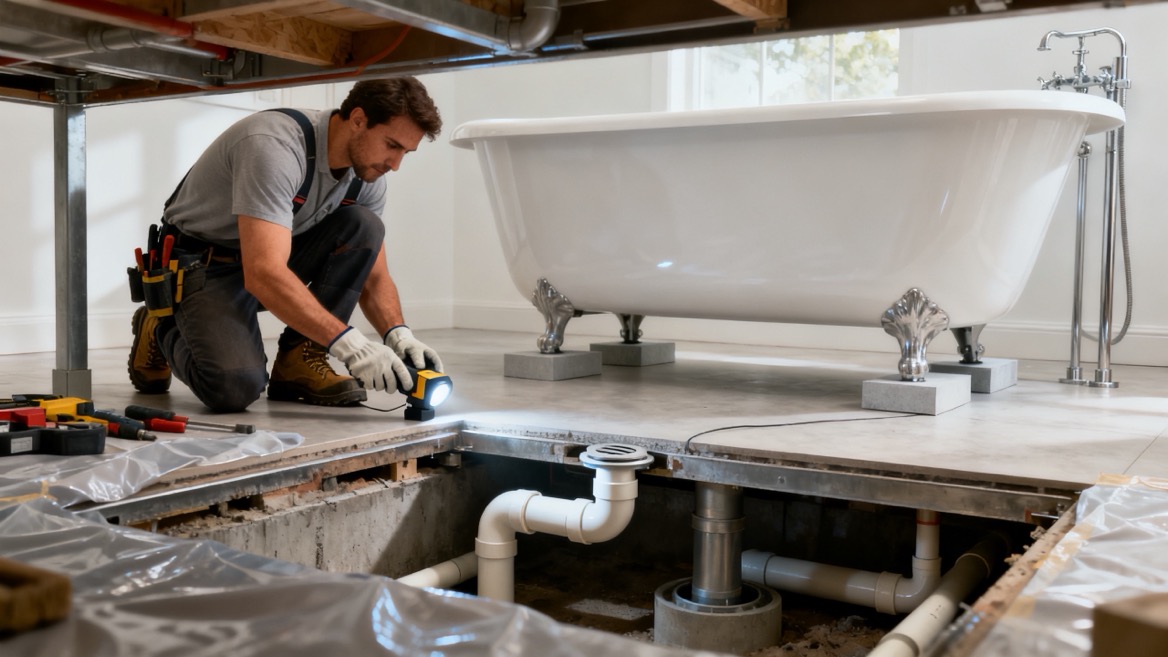
The finished floor should be clean, adequately supported, and level as required by the bathtub manufacturer.
Repair unsuitable surfaces before installation. Do not expect sealant to compensate for weak flooring, unstable support, or incorrect plumbing alignment.
Typical preparation items include:
- Tape measure and suitable level.
- Protective blankets and approved lifting equipment.
- The specified drain assembly and compatible fittings.
- Manufacturer-approved sealant.
- Suitable hand tools.
- Temporary supports, where the installation instructions require them.
Not every drain uses plumber's putty. Some require silicone, specific gaskets, or another defined sealing method. Using an unsuitable compound can compromise the seal or damage certain materials.
Check all supplied components before moving the bathtub into position. Report shipping damage, missing parts, or specification discrepancies before proceeding.
Install the drain in the sequence specified for the model.
Check gasket orientation, sealing surfaces, and tightening instructions. Excessive tightening can distort a gasket or damage the drain area.
Some tubs include an integrated overflow channel. Others use a separate overflow assembly. Understand the actual design rather than assuming that every overflow connects in the same way.
Where accessible and permitted, test the assembled bathtub waste before final placement.
Use the recommended lifting method and sufficient assistance.
Temporary supports may provide access beneath certain models, but their size and placement must follow the installation instructions. Never work beneath an inadequately supported tub.
Align the outlet with the prepared connection. Lower the tub carefully without forcing the tailpiece sideways or using the bathtub's weight to correct a misaligned fitting.
Check that all designated support points bear correctly on the floor.
Check level across the locations identified in the manual, usually along the bathtub rim.
Adjust leveling feet or approved supports where provided. Do not deliberately tilt the entire bathtub toward the outlet; its internal drainage geometry is normally designed into the product.
Confirm that the tub does not rock under gentle pressure.
The attachment method varies. Some models require silicone beneath particular supports or around the base. Others specify different arrangements.
Do not treat a perimeter bead as a universal structural fixing method. Do not add or omit sealant based solely on appearance.
Follow the specified curing time before loading or using the bathtub. A general "wait 24 hours" instruction cannot replace the sealant manufacturer's requirements.
A small amount of water can reveal some leaks, but it does not verify the entire system.
Use a staged test before handover and before closing any necessary inspection access.
Close the stopper and add water.
Inspect accessible connections and the surrounding floor. Check whether the stopper holds water correctly.
If a leak appears, identify its source. Do not automatically tighten every fitting; incorrect assembly or a damaged gasket may require correction.
Where the bathtub has an overflow, raise the water level carefully until overflow operation can be checked under controlled conditions.
Then release the stopper and observe drainage. A connection may remain dry while holding water but leak during discharge.
Inspect again after emptying the tub. Confirm smooth stopper operation and check for unusual movement.
Record the results and retain photographs of concealed connections before access is closed.
| Problem | Possible cause | Appropriate next check |
|---|---|---|
| Tub rocks or shifts | Uneven support or incorrect adjustment | Check every specified support point |
| Leak near the drain | Misplaced gasket, damaged seal, or incompatible assembly | Review and inspect the drain assembly |
| Slow drainage | Obstruction or unsuitable waste arrangement | Have the plumber assess the connection |
| Water splashes outside | Incorrect filler reach or alignment | Recheck the spout against the tub geometry |
| Water appears around the base | Plumbing leakage or water escaping during use | Identify the source before adding sealant |
Adding more silicone is not a reliable repair for an unidentified leak.
Resolve the underlying problem first. Sealing over evidence can make diagnosis and future maintenance harder.
For international bathroom brands, installation readiness should be part of sample approval.
A bathtub can satisfy visual expectations while still creating difficulties for distributors, installers, or end users. Procurement documents should therefore address the complete installation interface.
| Specification item | Buyer's review point |
|---|---|
| Dimensions | Confirm the actual footprint, height, and outlet position |
| Floor loading | Obtain empty weight, water capacity, and support details |
| Drain package | Define included components and compatible connections |
| Bath filler | Check mounting arrangement, reach, and rough-in needs |
| Instructions | Request clear drawings, component identification, and testing steps |
| Serviceability | Establish how concealed connections can be inspected or repaired |
Do not assume that a drain package intended for one destination market is suitable for another.
Connection standards, compliance requirements, installation practices, and documentation expectations can differ.
A practical sample review should examine more than finish and shape.
Have a qualified installer review the drawing, drain package, handling method, and maintenance access. Check whether the instructions match the supplied components.
Document agreed changes before production. This creates a clearer specification for both buyer and supplier without relying on verbal assumptions.
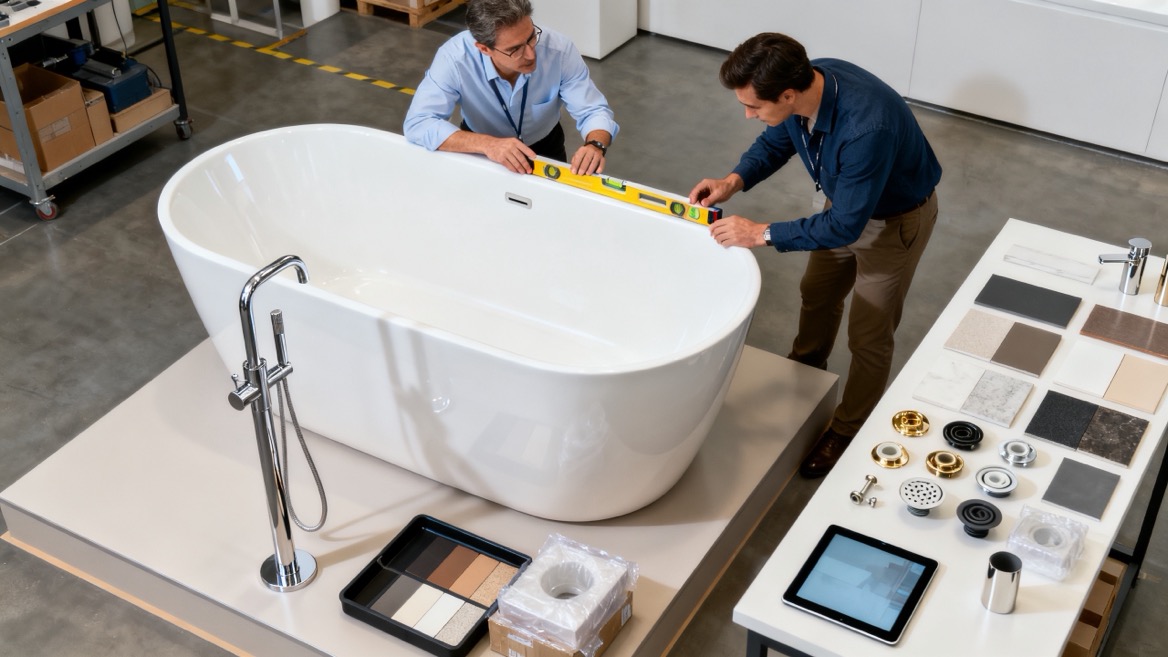
A well-installed freestanding bathtub combines considered design with accurate preparation, compatible components, and documented testing.
For brands, wholesalers, and manufacturers, that process starts with a clear purchasing brief.
Contact Jiaxing Miluo Smart Home Co., Ltd. with your target market, bathtub dimensions, preferred materials, drain requirements, and bathroom design concept. Discuss OEM and ODM options for a coordinated product solution, and confirm installation documentation and accessory compatibility before approving your project.
Some preparation tasks may be manageable for an experienced homeowner. However, drain relocation, bath filler rough-in, structural concerns, and required inspections should involve appropriately qualified professionals. Always follow the product instructions and local requirements.
It needs a compatible drain arrangement, but not every model requires the same system. Some use direct connections; others work with specified drop-in receivers. Confirm the exact assembly before buying accessories or preparing the floor.
Yes, where the structure provides adequate support for the installed load. Assess the bathtub, water, occupants, and support locations together. Heavy models or uncertain existing floors may require a structural professional's review.
Only where the manufacturer specifies or permits that arrangement. Instructions differ between models. Silicone should not replace proper support, correct plumbing connections, or an approved attachment method.
Follow the curing instructions for the specified sealant and the bathtub manufacturer's requirements. Temperature, humidity, product type, and application thickness can affect curing. Complete the required leak checks before regular use.
Possibly, but suitability must be checked. Compare the new outlet position, connection height, waste fittings, and bath filler requirements with the existing installation. Reuse is appropriate only when the complete arrangement remains compatible and compliant.
1. Aquatica USA — "How to Install a Freestanding Tub." Original article supplied for restructuring. Covers tools, positioning, handling, drain assembly, water checks, and sealing. Its model-dependent recommendations have been qualified rather than treated as universal instructions. [aquaticausa]
2. Kohler — "Installation Instructions: Freestanding Bath," document 1420044-2. Supports the discussion of adequate floor support, level finished flooring, temporary lifting supports, specific drain interfaces, and prescribed sealing methods. These instructions apply to the models covered by that document, not every bathtub. [techcomm.kohler]
3. Kohler — "Installation Instructions: Freestanding Bath," document 1549042-2. Supports coordination between bath placement, drain instructions, bath filler installation, and model-specific perimeter sealing. [techcomm.kohler]
4. Kohler — "Installation Instructions: Freestanding/Pedestal Bath," document 1432011-2. Supports floor-loading review, compliance with local requirements, leveling, correct support, and filling to the overflow to check for leaks. [techcomm.kohler]
5. Kohler Vietnam — "Baths Guide: Bath Installations." Supports checking whether the floor can carry a full bathtub and whether the hot-water system can meet filling requirements. [kohler.com]
6. International Code Council — "2024 Plumbing Code Essentials," Chapter 4, Design. Provides context for temperature-limiting requirements at bathtub fill valves. Applicable obligations depend on the code adopted in the project jurisdiction. [codes.iccsafe]
7. Kohler — "Bath and Shower Drains." Demonstrates that freestanding bath drainage products include different arrangements, including above-floor and through-floor applications. Product compatibility must be confirmed individually. [kohler]


