
Views: 202 Author: Miluo Smart Home Publish Time: 2026-07-10 Origin: Site


Content Menu
● Why Bathtub Drain Removal Matters
● Tools and Materials You Need
>> Basic tools
● Identify Your Drain Type First
>> 4. Use a drain extractor if needed
● How to Handle a Rusted or Seized Drain
>> Signs you should stop forcing it
● Reinstalling or Replacing the Drain
>> Simple replacement checklist
● Expert Tips for Better Results
● Industry Insight: What Brands and Installers Should Know
● Maintenance Tips to Prevent Future Problems
● FAQ
>> 1. What is the easiest bathtub drain to remove?
>> 2. Can I remove a bathtub drain without special tools?
>> 3. Why won't my bathtub drain budge?
>> 4. Should I use plumber's putty or silicone when reinstalling the drain?
>> 5. When should I call a plumber?
Removing a bathtub drain is usually a straightforward DIY task when you know the drain type, use the right tool, and work carefully to protect the tub surface. This guide explains how to remove a bathtub drain step by step, how to handle stubborn or corroded drains, and how to reinstall or replace the drain assembly with confidence. [familyhandyman]
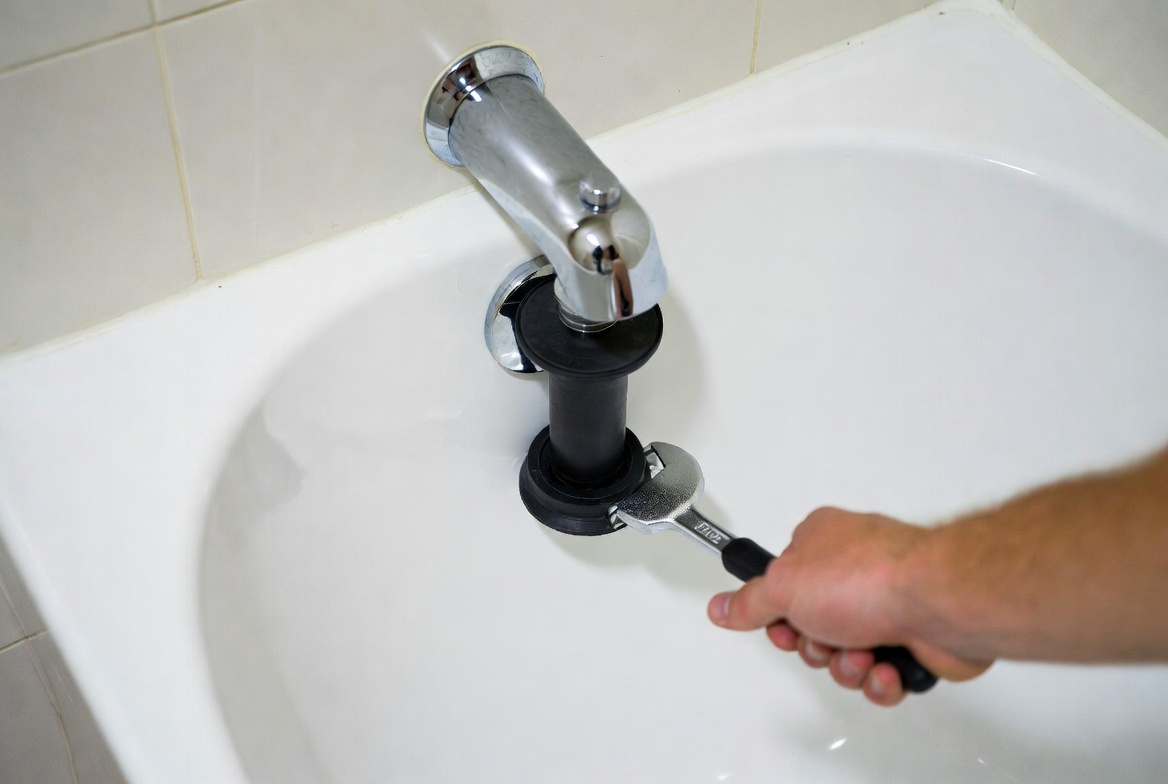
A bathtub drain may need to be removed for several reasons: slow drainage, rust, leaking around the flange, a broken stopper, or a full bathroom remodel. In many cases, the drain itself is not the real problem; the issue is buildup, worn seals, or an aging stopper mechanism that no longer closes properly. [youtube]
From a product and installation perspective, drain removal is also a useful maintenance skill for OEM/ODM bath systems because the drain assembly is one of the most service-sensitive parts of the tub. If the drain is removed correctly, the tub surface, threads, and overflow components are less likely to be damaged during repair or replacement. [youtube]
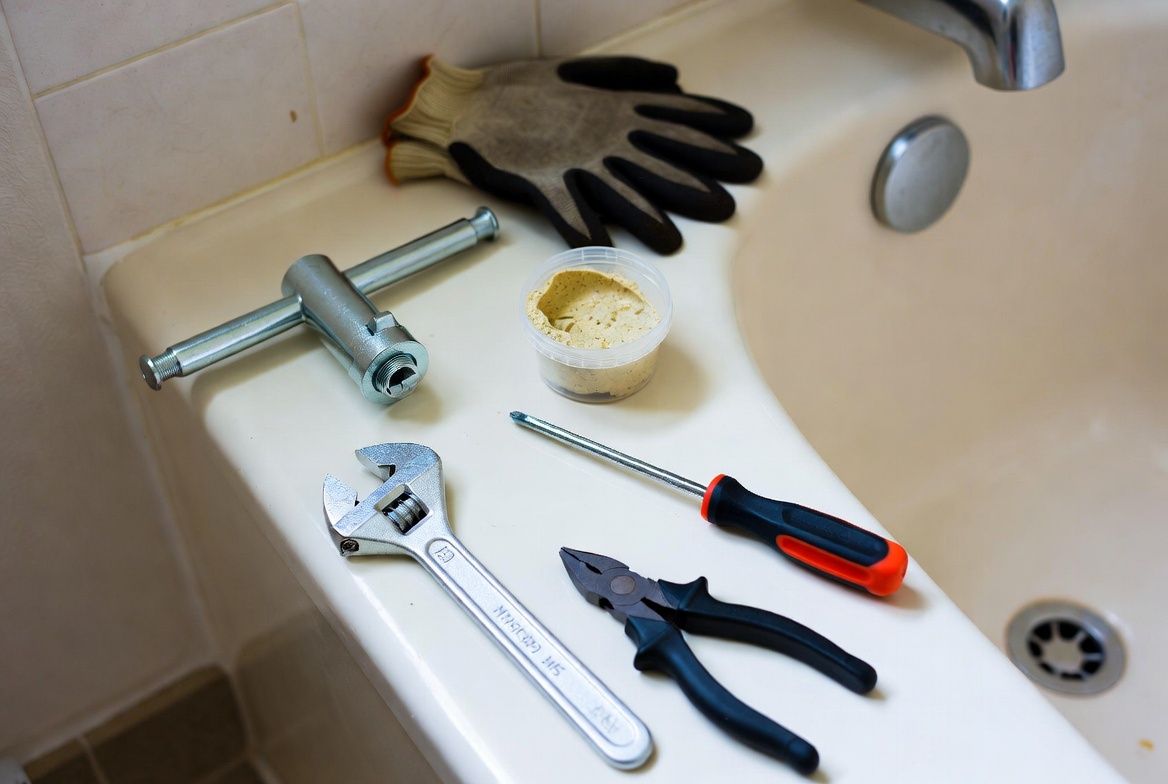
Before starting, gather everything first so you do not stop halfway through the job. The right setup reduces the chance of scratching the tub, stripping the drain, or forcing a stuck part loose with the wrong tool. [familyhandyman]
- Flathead screwdriver.
- Phillips screwdriver.
- Adjustable wrench.
- Drain wrench or tub drain extractor.
- Pliers.
- Rags or towels.
- Flashlight. [youtube]
- Penetrating oil.
- Hairdryer or heat gun for softened putty.
- Needle-nose pliers.
- Bucket or small container for parts. [familyhandyman]
- Gloves.
- Protective eyewear.
- Drop cloth, towel, or cardboard to protect the tub surface. [youtube]
The easiest way to avoid damage is to identify the bathtub stopper type before you start turning anything. Different drain styles come apart differently, and forcing the wrong part can crack the stopper or bend internal hardware. [thespruce]
- Push-pull stopper: Pull to open, push to close.
- Toe-touch stopper: Press with your toe to open and close.
- Lift-and-turn stopper: Lift and rotate to open or close.
- Flip-it stopper: Uses a toggle-style lever.
- Trip-lever stopper: Controlled by a lever on the overflow plate.
- Pop-up stopper: Uses linkage behind the overflow plate. [theplumbingsupplyco.wordpress]
If your tub has a lever on the overflow plate, the drain may not have a visible stopper at the bottom. In that case, the removal process starts at the overflow assembly instead of the drain flange itself. [theplumbingsupplyco.wordpress]
The actual removal process depends on whether you are removing only the stopper or the full drain flange and assembly. Start with the stopper, then move to the drain body if replacement or deep cleaning is needed. [familyhandyman]
For a push-pull or lift-and-turn stopper, lift it into the open position and rotate counterclockwise. If there is a small set screw, loosen it first with the correct screwdriver or Allen key. [youtube]
For a toe-touch stopper, press it open first and then unscrew the top cap counterclockwise. For a trip-lever or pop-up system, remove the overflow plate screws and pull the linkage assembly out carefully. [theplumbingsupplyco.wordpress]
Wipe away hair, soap residue, and old buildup around the drain opening before using the removal tool. This helps you see the crossbars or threads clearly and prevents dirt from falling into the drain opening during the next step. [youtube]
If the drain has internal crossbars, use a drain wrench or bathtub drain removal tool. Fit the tool into the crossbars, then use an adjustable wrench or screwdriver handle to turn it counterclockwise. [ehow]
Apply steady force instead of jerking the tool. A smooth turning motion gives better control and reduces the chance of damaging the tub or breaking the crossbars inside the drain. [youtube]
If the crossbars are stripped, broken, or missing, use a tub drain extractor. Tap it in carefully, then turn it counterclockwise with a wrench until the drain starts moving. [familyhandyman]
This tool is especially useful for older drains that no longer accept a standard drain wrench. It grips from the inside, which makes it more reliable when corrosion has weakened the original hardware. [youtube]
If the drain will not budge, apply penetrating oil around the flange and let it sit before trying again. Heat can also help soften old plumber's putty or sealant, making the drain easier to remove. [youtube]
For extremely stubborn drains, use controlled force rather than excessive torque. The goal is to loosen the drain without cracking the tub finish or deforming the drain opening. [familyhandyman]
A rusted or seized drain is common in older bathrooms, especially where moisture, mineral buildup, or old sealant has been sitting in place for years. In these cases, the safest approach is to work in stages: clean, lubricate, grip, test, and only then increase force. [youtube]
If the drain still does not move, a technician may choose a chisel-and-hammer method or a small cutting tool to remove the flange. That should be treated as a last resort because it can damage the drain body and, in fragile tubs, the surrounding finish. [familyhandyman]
- The tub surface starts flexing or chipping.
- The crossbars break while turning.
- The drain tool begins slipping.
- You see visible cracking, bending, or deep corrosion. [youtube]
Once the drain is out, inspect the drain opening and surrounding surface carefully. Look for old putty, damaged threads, broken gaskets, corrosion, or signs of water leakage around the flange area. [ehow]
Clean the area thoroughly before installing a replacement. A clean, dry surface is important for a proper seal, especially if you plan to reuse the existing waste-and-overflow connections or fit a new drain assembly. [ehow]
If you are replacing the drain, roll plumber's putty into a rope and place it under the new flange unless the manufacturer recommends a different sealant. Then insert the new drain and tighten it carefully until snug. [ehow]
Do not overtighten. Too much force can squeeze out too much sealant, distort the gasket, or crack a delicate tub surface. [ehow]
1. Clean the drain opening.
2. Install the gasket or putty.
3. Thread the new drain by hand first.
4. Tighten with the drain wrench.
5. Wipe away excess putty.
6. Test with a small amount of water. [youtube]
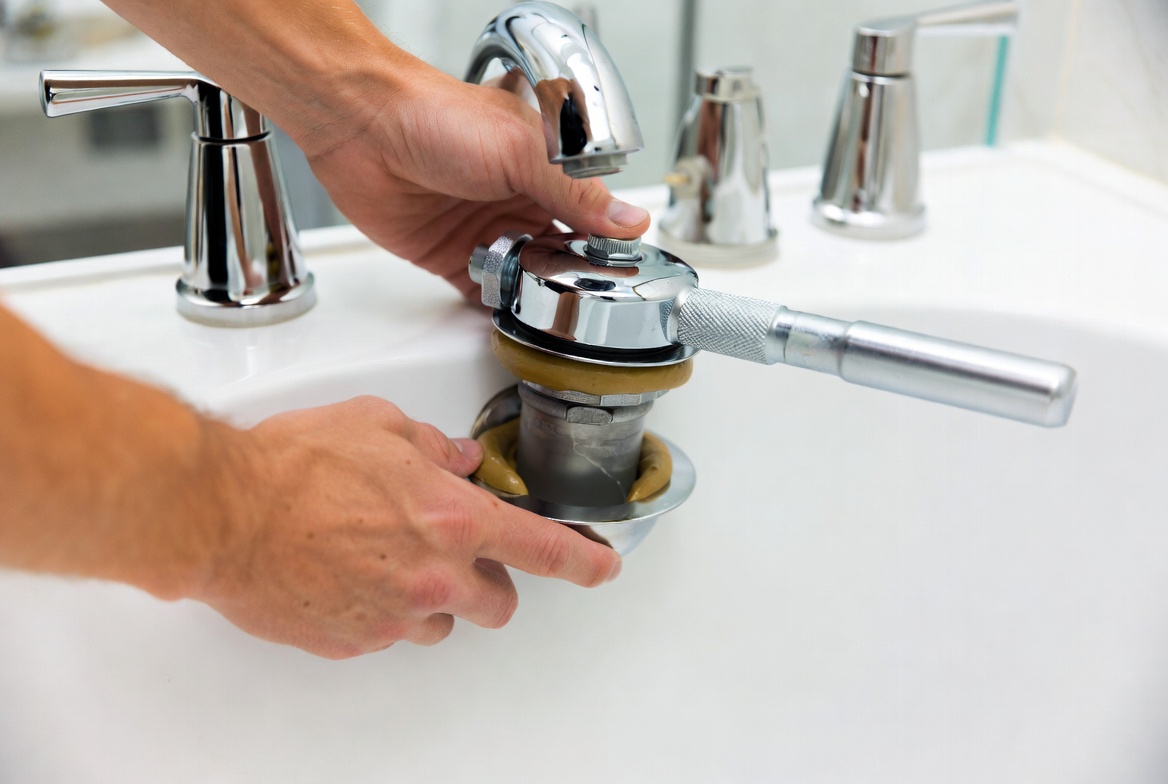
A few practical habits make bathtub drain removal much safer and faster. First, always start by identifying the stopper style and the condition of the drain; the tool choice should follow the hardware, not the other way around. [thespruce]
Second, protect the tub surface with a towel or cardboard so dropped tools do not chip enamel or acrylic. Third, if the drain is severely corroded or the tub is old and fragile, calling a professional is often cheaper than repairing accidental damage later. [familyhandyman]
- Using pliers on a drain that needs a drain wrench.
- Applying too much force too early.
- Skipping the stopper removal step.
- Leaving old putty or debris behind before reinstalling. [youtube]
For bathtub manufacturers, distributors, and OEM/ODM suppliers, drain access should be considered part of the full product experience, not just a plumbing detail. A drain that is easy to identify, remove, and replace lowers service friction and improves the long-term perceived quality of the tub system. [youtube]
For export and project supply, this matters even more because installers in different markets may expect different stopper styles, thread formats, and sealing preferences. Clear drain compatibility information can reduce installation mistakes, warranty claims, and customer frustration. [thespruce]
Preventive maintenance can extend the life of the drain and reduce the need for repeated removal. A few simple habits can make a big difference in homes, hotels, and commercial bathroom projects. [familyhandyman]
- Use a drain strainer to catch hair and debris.
- Clean the stopper regularly.
- Avoid harsh chemical abuse on finished drain parts.
- Inspect seals and gaskets during routine bathroom maintenance. [youtube]
If the drain is part of a high-end bathtub system, periodic inspection is especially useful because small seal failures can become visible leaks over time. In premium bathroom products, serviceability is part of the product value proposition. [youtube]
Removing a bathtub drain does not have to be difficult. With the correct tool, the right stopper identification, and a careful step-by-step approach, you can remove, inspect, and replace the drain without unnecessary damage. [ehow]
If you are sourcing custom bathtub systems, drain-compatible bathroom products, or OEM/ODM bath solutions, make sure your product line is designed for easy maintenance, clear installation, and reliable sealing. That is where long-term user satisfaction and product value truly start. [youtube]
A push-pull, toe-touch, or lift-and-turn stopper is usually the easiest to remove because it typically unscrews by hand or with a simple screwdriver adjustment. [thespruce]
Sometimes yes, but a drain wrench or extractor makes the job much safer and reduces the chance of damage. When the drain is old, rusted, or stripped, special tools are strongly recommended. [ehow]
The most common reasons are corrosion, hardened plumber's putty, mineral buildup, or broken crossbars inside the drain. In those cases, penetrating oil, heat, or a drain extractor may help. [familyhandyman]
Plumber's putty is commonly used for bathtub drain flanges, but the best sealant depends on the drain design and manufacturer instructions. Always follow the product guidance for the new drain assembly. [youtube]
Call a plumber if the drain is severely seized, the tub surface is fragile, the crossbars are broken, or you suspect a hidden leak in the overflow or waste line. Professional help is also wise if you are working on a high-value tub or a commercial installation. [familyhandyman]
1. [How To Remove a Bathtub Drain]
2. [How to Remove a Bathtub Drain: A Complete Step-by-Step Guide]
3. [How to Remove a Bathtub Drain - The Home Depot]
4. [How to Use Plumber's Putty in a Bathtub Drain]


